Many of you want to edit photos like the Golden Hour Effect, but you don’t know the right way. That’s why you can’t edit photos like that.
But today, you don’t need to worry. I have the solution for you. Because today, I have brought Golden Hour Lightroom Presets.
With this preset, you can add the Golden Hour Effect to your photos with just one click. Yes, you heard it right. Just one click.
Now, the time of editing photos for hours is over. You need to edit smartly – where it takes less time but looks professional. Yesterday, I posted about Golden Hour Editing on Instagram, and guess what? It got a great response. Because these types of photos go viral on Instagram and Facebook.
So, you can also create these kinds of photos and gain more followers. These photos look amazing, with an aesthetic and cinematic tone that makes them more attractive.
So, let’s not talk too much. Now, I will tell you how to get this Lightroom preset, how to use it, and everything else you need to know.
What Is Golden Hour Effect?
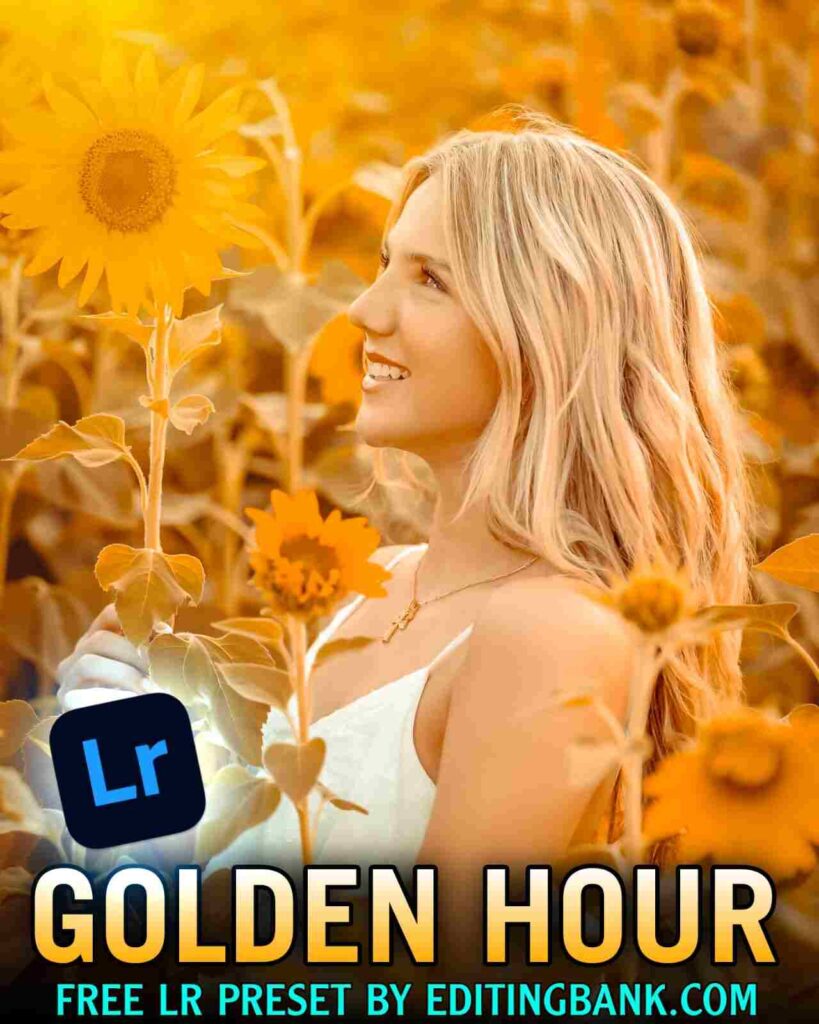
The Golden Hour Effect is nothing complicated. It’s just a normal photo editing effect. It makes your photo look aesthetic and cinematic with a warm tone.
In this effect, sunlight falls on one side of the photo, and the bottom part looks a little dark.
Maybe you have heard about cinematic photo editing or aesthetic photo editing. Well, Golden Hour editing is just like that.
You can look at the photos below to understand what kind of editing I am talking about.

How To Get Golden Hour Look In Lightroom?
Now, let me tell you how to edit photos like this in Lightroom.
You cannot edit this type of photo with the normal version of Lightroom. You need to buy Adobe Plans.
Which subscription you buy is up to you. But remember, you cannot edit these types of photos with the free version of Lightroom. You need the Adobe Pro version.
- Open your photo in the Lightroom app.
- Go to the Edit option and select Color.
- Set Temperature to +48 and add different effects.
- Go to the Masking option, click +, and select Radial Gradient.
- Add a yellow color where you want the Golden Hour Effect.
Just follow these simple steps, and you can edit amazing Golden Hour photos.
What Are The Settings For Golden Hour Effect
Friends, if you try to edit this photo manually, it will take a lot of time. That is why I have brought Golden Hour Preset Lightroom Mobile for you. I have already set everything for you here. You just need to copy and paste it, and your photo will be edited with the Golden Hour effect.
How Do I Add A Fake Sunset In Lightroom
Friends, if you want to add a fake sunset in the Lightroom app, you need to follow two methods. The second method is very easy.
First Method:
- Add your photo in the Lightroom app and adjust the settings.
- Then go to the Masking option and click on Radial Gradient.
- Now, choose the color you want for the sunset and add it to the place where you want the sunset.
Second Method:
Friends, the second method is easy because you just need to copy and paste. The Lightroom presets I gave you today will automatically add a sunset to your photo when you copy and paste.
How To Use Golden Hour Preset Lightroom Mobile?
Friends, now let me tell you how to use Lightroom Presets. I have been talking about Lightroom presets for a while, so if you are new to photo editing, you may not know how to use them. Follow the steps below.
- First, install the Lightroom app on your mobile. You can easily find it on the Play Store and App Store.
- Then, open the app and add your photo. Also, add the Lightroom preset I gave you.
- Now, open the preset and click on the three dots at the top. Then, click Copy Settings.
- Open your photo and click on the three dots again. This time, click Paste Settings.
- That’s it. Your photo will be edited with the Golden Hour effect in just one click.
How To Get Golden Hour Effect Lightroom Presets
Friends, now let me tell you how you can get this Lightroom preset on your mobile or computer.
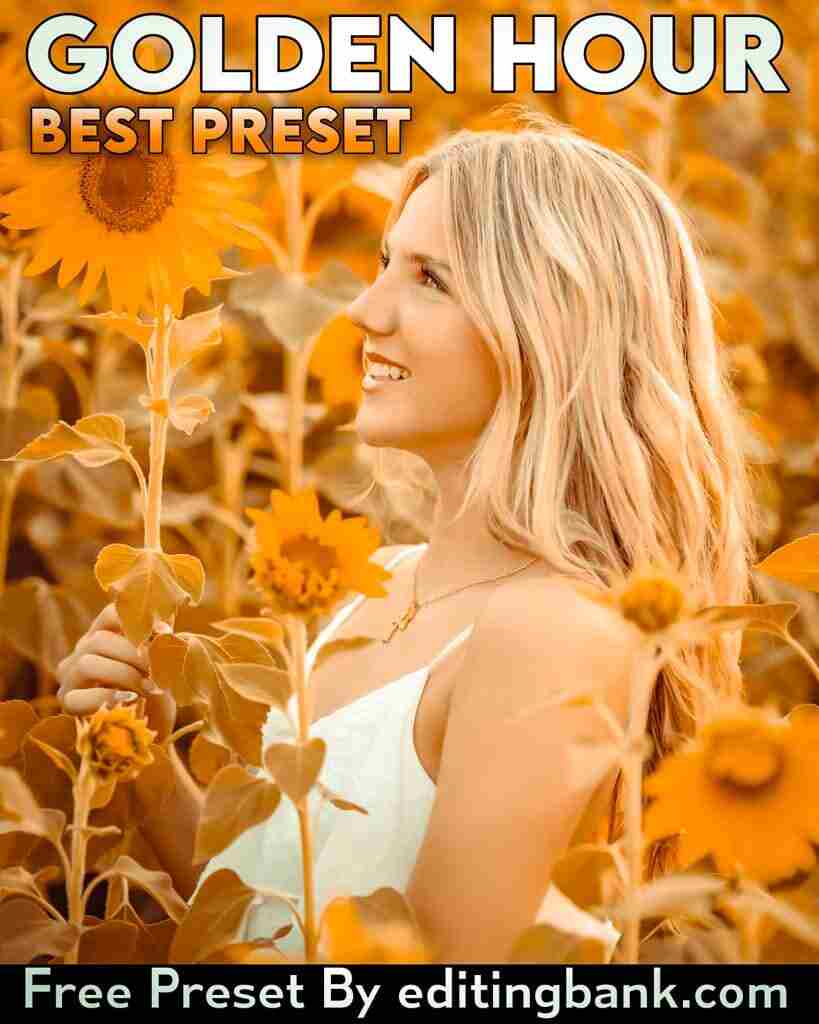
Below, you will see a button. Click on it. As soon as you click, you will get today’s Lightroom preset. But remember, the photo below is not the original Golden Hour Lightroom Preset. It is just for showing you an example. Click on the button below the photo to get the preset.

Conclusion
Friends, by using today’s Lightroom Preset, you can add a beautiful cinematic Golden Hour effect to your photo. If you have any problems using this Lightroom Preset, let me know in the comments. To get more Lightroom Presets in the future, join our official WhatsApp group. If you have any problems, let us know in the comments, and we will help you. Thank you.
FAQ – Golden Hour Lightroom Presets
Q1. What Creates Golden Hour?
Golden Hour happens when the sun goes up or down. The light becomes soft and warm. The color looks yellow and orange.
Q2. What Is The Best Time For Photos?
The best time for photos is one hour after sunrise and one hour before sunset. The light is soft and makes photos look nice.
Q3. What Are The Colors For The Golden Hour?
Golden Hour has warm colors like gold, orange, and red. These colors make photos look beautiful.
Q4. Why Is Golden Hour Good For Photography?
At this time, the light is soft, and the shadows are long. This makes the photo look pretty. The colors are also bright and nice.
Q5. How To Get A Golden Hour Effect?
To get the Golden Hour effect, change some settings in Lightroom. Increase Temperature, use Radial Gradient for light, and make colors warm. If you want an easy way, use the Golden Hour Lightroom Preset. It makes the photo beautiful in one click.