CB Blue Lightroom Presets are the secret behind the kind of stunning photo editing you saw on the screen that made you click this post. With just one click, you can achieve that exact same style of editing using only these presets.
Many people want to learn this kind of editing, but they can’t do it because they don’t have enough time.
But today, I will show you step-by-step, just like a teacher, how you can do this kind of photo editing with just one click. Yes, you heard that right, only one single click, and you’ll be able to do this kind of professional-level photo editing. I will tell you everything you need to do in this article.
But first, let’s talk a little about the important things you need to know before doing this type of editing.
First of all, to do this kind of photo editing, I mean one-click photo editing, you need to install just one app, and its name is Lightroom. This is a small app that lets you edit photos for free, without paying anything at all.
Now, since you are a beginner in photo editing, you’re just starting to learn, maybe you’ll find it a little tricky. But don’t worry, in this article I will guide you step by step, very clearly. So there’s no need to be scared.
Now let’s not wait any longer, let’s see how you can do this kind of photo editing..
What is Lightroom?
Friends, now in this paragraph, I’m going to talk about the app we are using today for photo editing and that is the Lightroom app.
Look, this app was made by Adobe, and it’s available in three versions: mobile version, desktop version, and computer version. From this, you can already understand how big this app is, and when you see the amazing features inside it, you’ll be totally surprised.
And there’s one feature in this app that I really like personally. It’s a way to do photo editing using a checklist style and today I’ll teach you how to do it. You just need to copy the settings from one edited photo, the one you like and then paste those settings onto your own photo. That’s it! Your photo will look beautifully edited in just one click. Don’t worry, I’ll explain this clearly below. I’m just giving you a rough idea here.
Now of course, this app has two plans, one is a free plan, and the other is a paid plan. You can do this type of editing even with the free plan. But if you want more special features, you can choose to pay for extra tools with Adobe Creative Cloud, Adobe Pro, or Adobe Creative Prime these give you more cool editing styles.
But if you’re a beginner in photo editing, meaning you’re still learning, then I don’t think buying a paid plan right now will help you a lot. First, learn a bit more about how editing works. Then, if you feel ready, you can buy a plan later.
And yes I’ll give you a table below that shows the price, how many days each plan lasts, and what you’ll get in each one.
| 🔍 Features | 🆓 Free Plan | 💰 Paid Plan (₹382.32/month) |
|---|---|---|
| Access on Mobile | Yes | Yes |
| Access on Desktop/Web | ❌ Mobile only | ✅ Full access on mobile, desktop, and web |
| Free Trial | Not applicable | ✅ Available |
| Cloud Storage | Limited (mobile only) | ✅ 1 TB cloud storage |
| Font Access | ❌ Not available | ✅ 20,000+ premium fonts |
| Free Media (Photo/Video/Audio) | ❌ Limited | ✅ 1 million+ free media assets |
| Adobe Express Premium | ❌ Not included | ✅ Included |
| Templates & Design Tools | ❌ Not available | ✅ Thousands of premium templates |
| Full Lightroom Features | ❌ Limited features | ✅ Full features including Lightroom & Classic |
| Price | Completely Free | ₹382.32/month (including GST) |
📌 Premium Subscription Price: ₹382/month
📌 Official Link: Adobe Lightroom Plans
What is CB Blue Lightroom Presets?
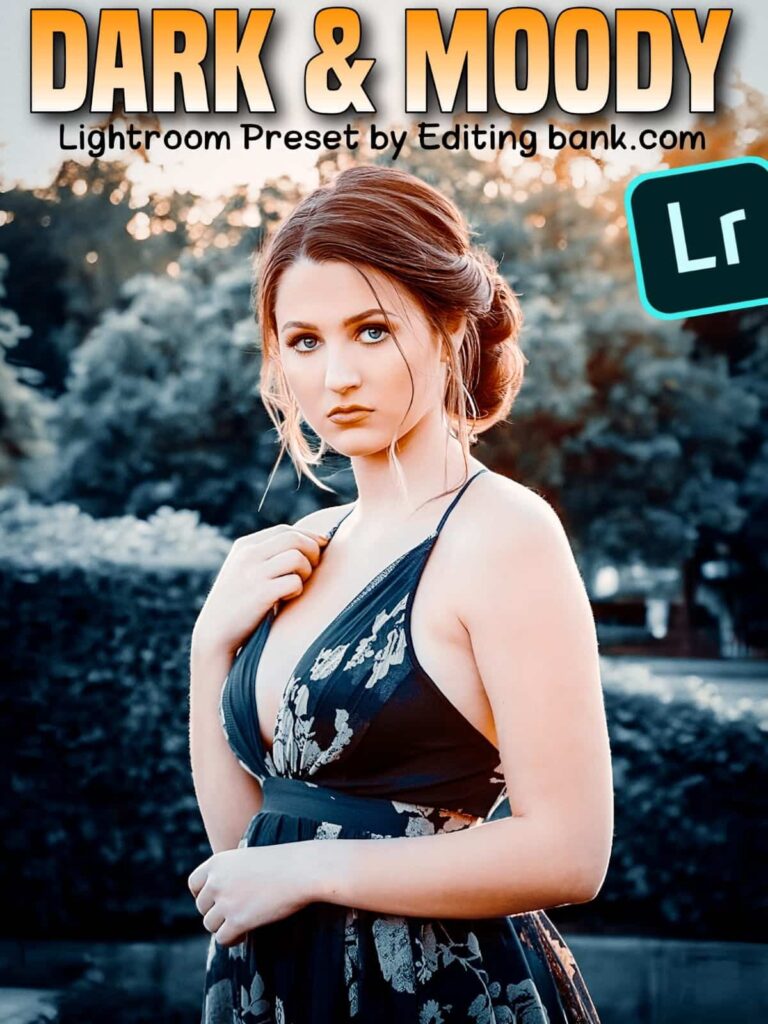
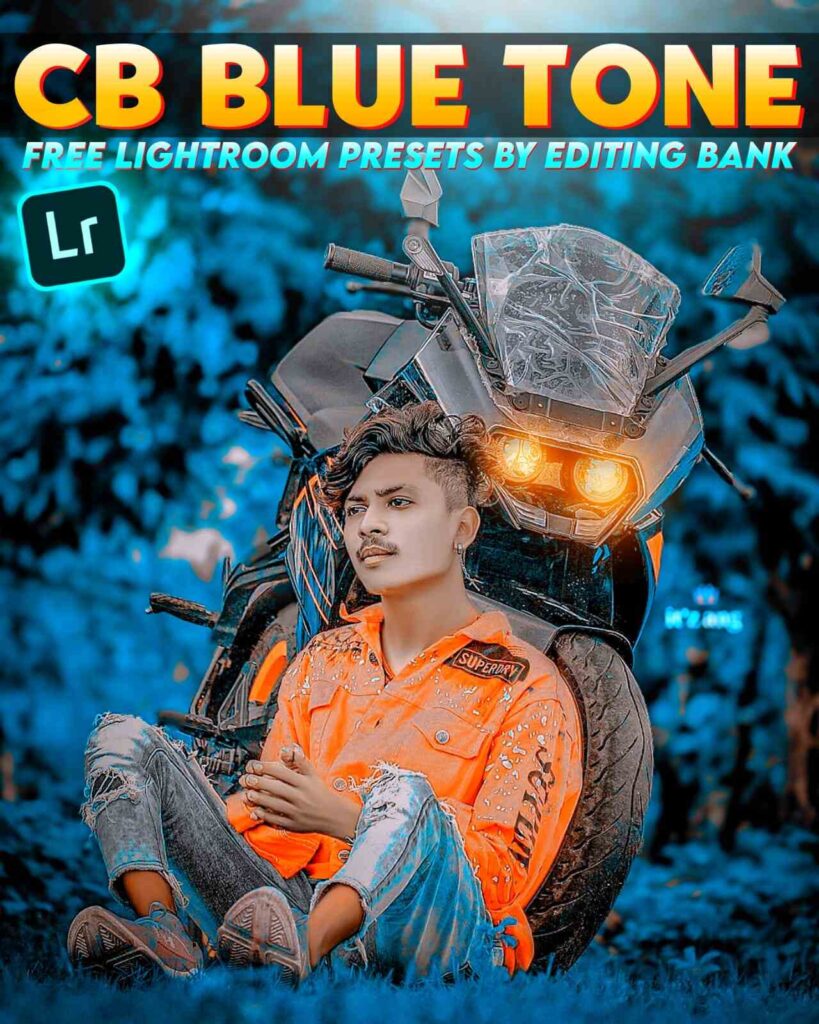
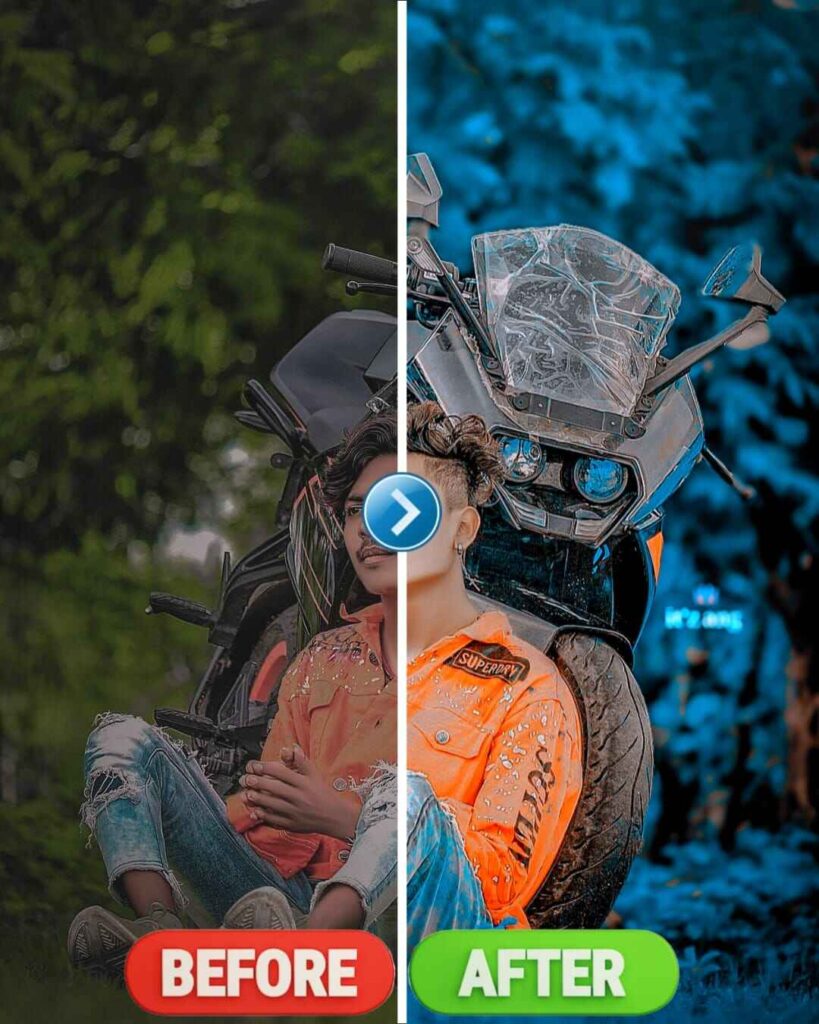
I do not need to say much about the CB Blue Lightroom Preset. You probably already know that it is a special preset made for Lightroom. When you use it, your photo will look just like the demo shown below.
This preset helps you create professional-level photo edits that you will not get from other presets. The quality is also very high, so you do not need to compromise.
It was created by your favorite editor, DM Editor, who has over three million followers on Instagram. He gained all these followers by sharing his photo edits. So you can already understand how skilled he is in editing.
How to Edit Photo Useing CB Blue Lightroom Presets
Friends, now let me tell you how you can do this type of photo editing inside the Lightroom app.
- First, you need to install the Lightroom app on your phone. This is if you are doing the editing from your mobile.
- Next, you have to save the Lightroom Preset that we gave you to your phone. I will explain how to save it just below.
- Then open the Lightroom app and add both the Lightroom Preset and the photo you want to edit by clicking the Add Photo option. You will find this option near the bottom.
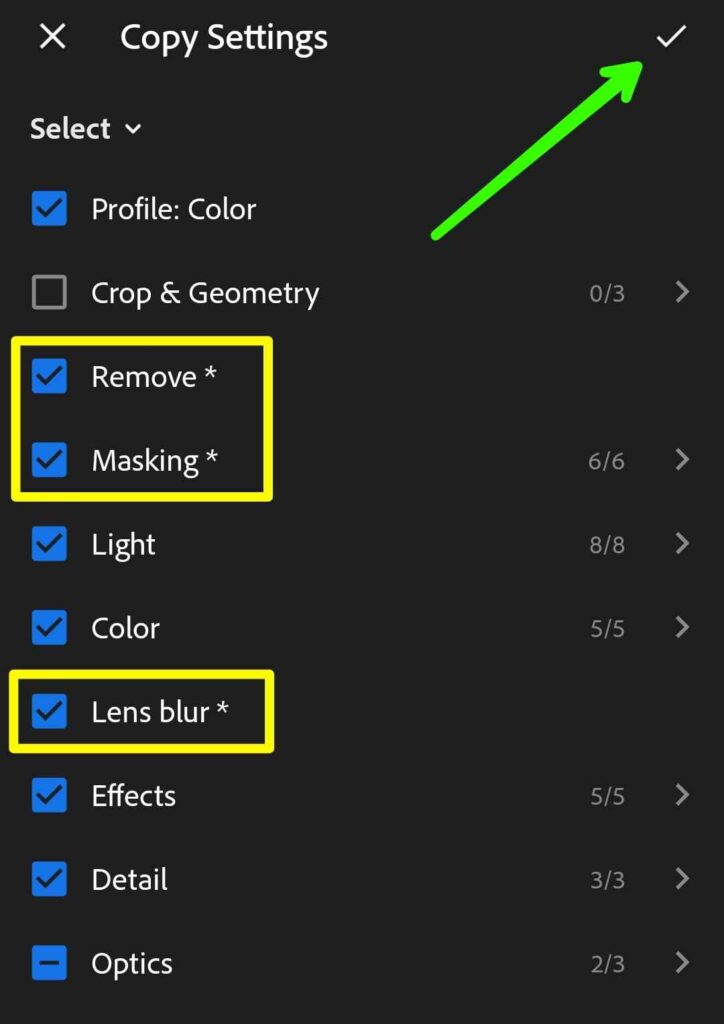
- After that, open the Lightroom Preset and click on the three dots at the top. Then choose Copy Settings. Make sure to turn on or check Remove, Masking, and Lens Blur options. If you do not understand, don’t worry. I have added a photo below to help you understand.
- Now open your photo and click the option at the top to Paste Settings.
If you follow these steps, your photo will look fully edited like a professional photo. And if you still have any problem, we are here to help. Just tell us your problem in the comments, and we will help you solve it.
How To Get Blue CB Lightroom Presets
Friends, now let me tell you how you can save the Lightroom Preset on your mobile.
First, you will see a picture below. Under that picture, there will be a button. The button will be red in color. If you click on that red button, you will get today’s Lightroom Preset very easily.


Conclusion
So friends, I hope that from today’s article, you have learned many things. You now know how to use the Lightroom app for photo editing, how to edit a photo with just one click, and a lot more.
The best part is, I have given you the CB Blue Lightroom Preset in a very simple way. I hope you had no problem getting it. And if you did face any problem, then you can write it in the comment section. You can also join us on WhatsApp, where we always give updates.
Thank you.
Thank you, Maa Manasa, for always being by my side and giving me your support. I am truly grateful.
Related Posts