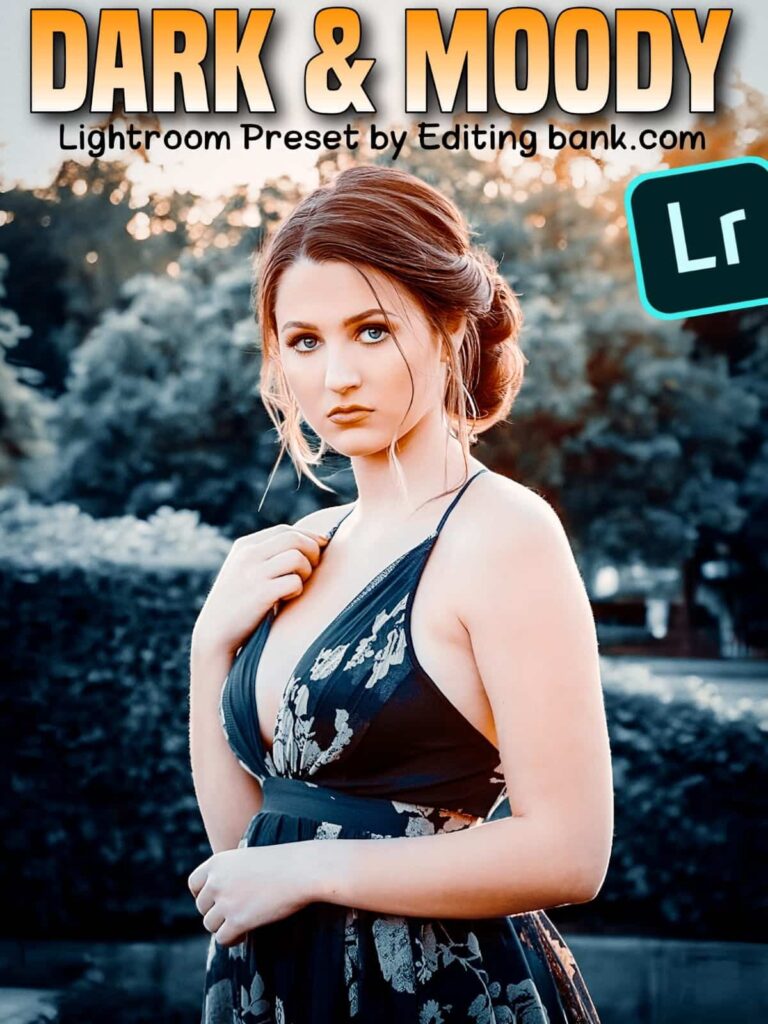
Cinematic presets for Lightroom, who doesn’t love cinematic photo editing?
And what if it can be done in just one click? You might be a little surprised, how can cinematic photo editing be done with just one click? Well friends, today’s article is going to be very important for you.
Because today, in this article, I will show you how you can do cinematic photo editing in one click using Cinematic Lightroom Presets. The photo editing you saw above, I did that with just one click. It looks really professional, right?
This article is very useful, especially for those who are new to photo editing. Today, I will show you step by step how you can edit your photo in a cinematic way, with only one click. Your job is very simple, just copy and paste. That’s it. Your photo will look amazing with a cinematic tone.
And even if you are not an expert in photo editing, this article is still for you. Because I will show you everything in a video, so you won’t face any problems. And if you have any problem, just write in the comment box, we will help you.
Also, you don’t have to worry about the quality of today’s Lightroom preset. Because it is made by your favorite DM Editor Bhai, who has over 3 million followers on Instagram. You already know how great he is at photo editing.
So, how to get the Lightroom presets, how to use them, everything will be shown in today’s article. Let’s start…
What are Cinematic Presets for Lightroom?
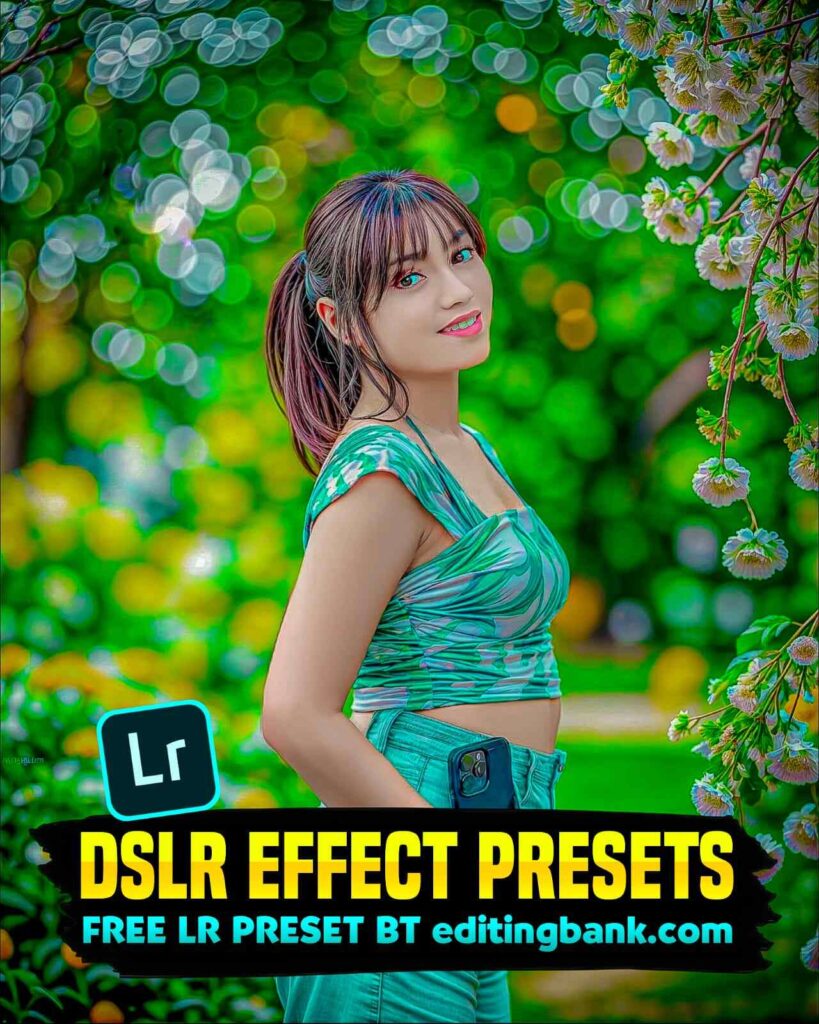
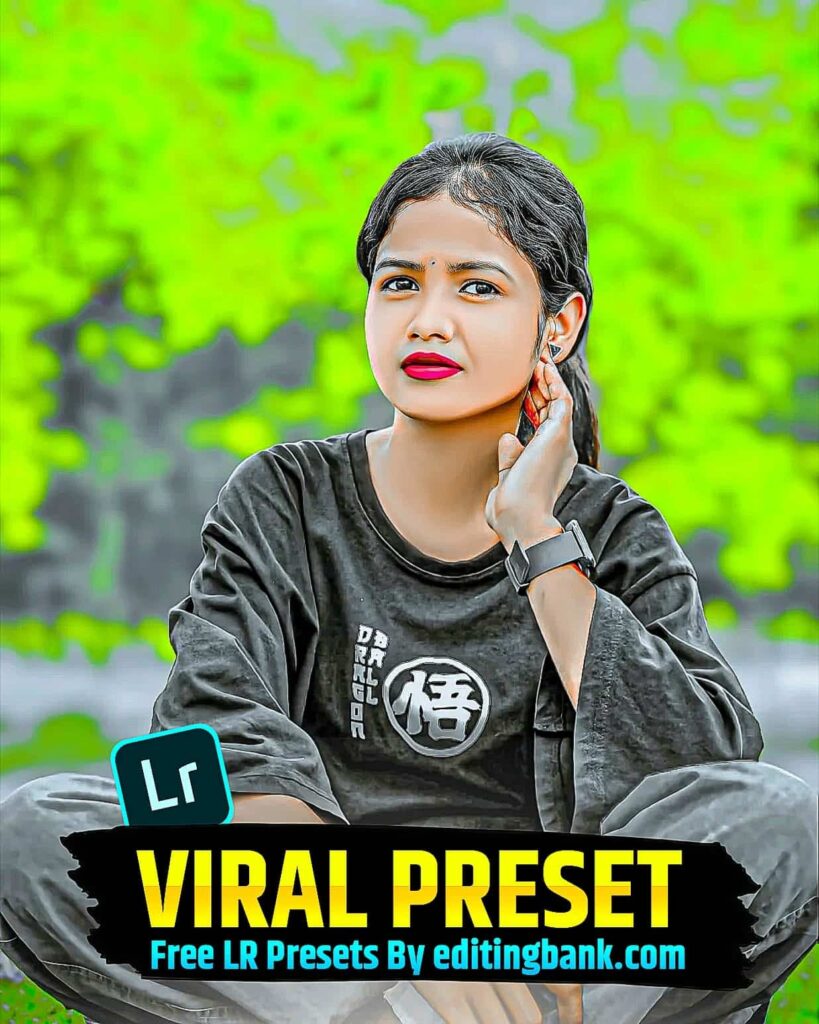
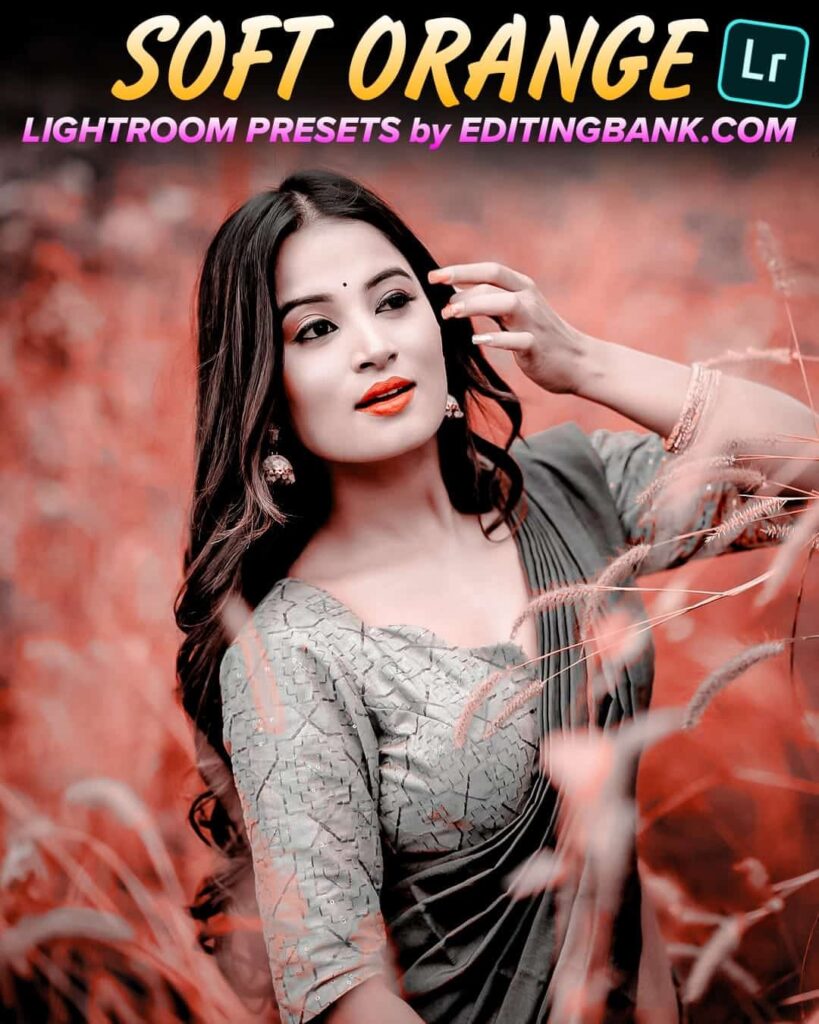
A cinematic Lightroom preset is a kind of photo setting. It makes the colors and contrast of your photo look amazing. It gives your photo a dramatic look, like a movie, with a shiny glow. When people scroll on social media and see this kind of photo, they stop and look because it looks so special.
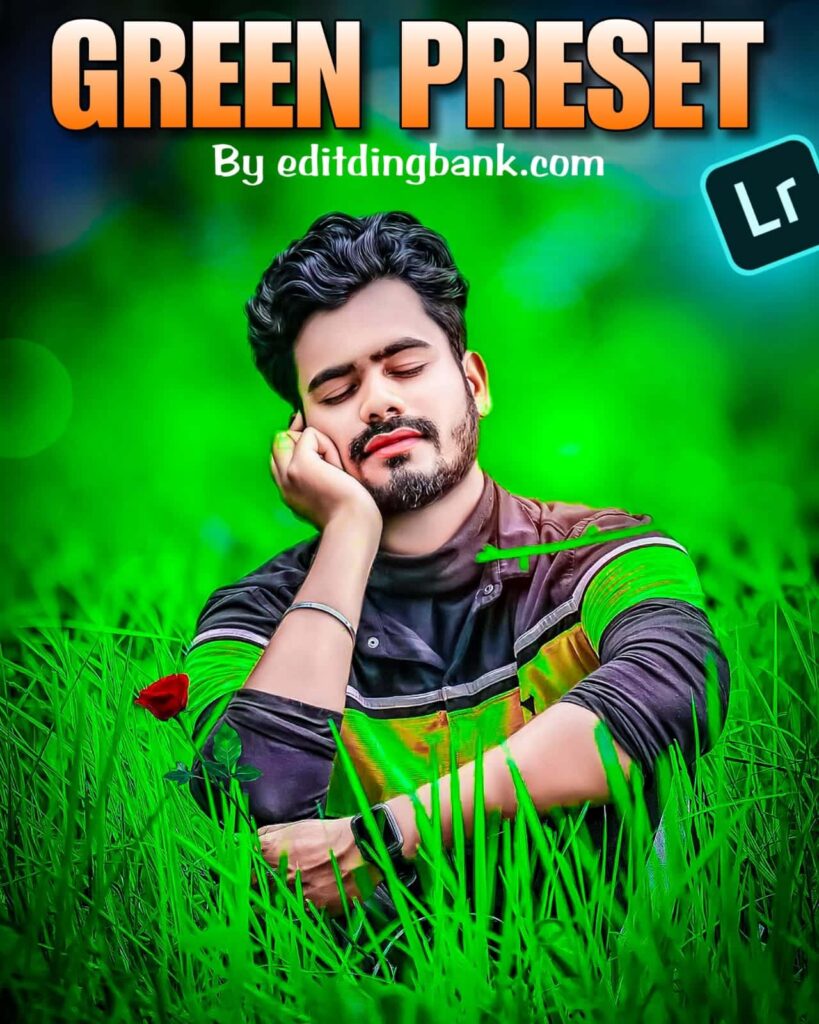
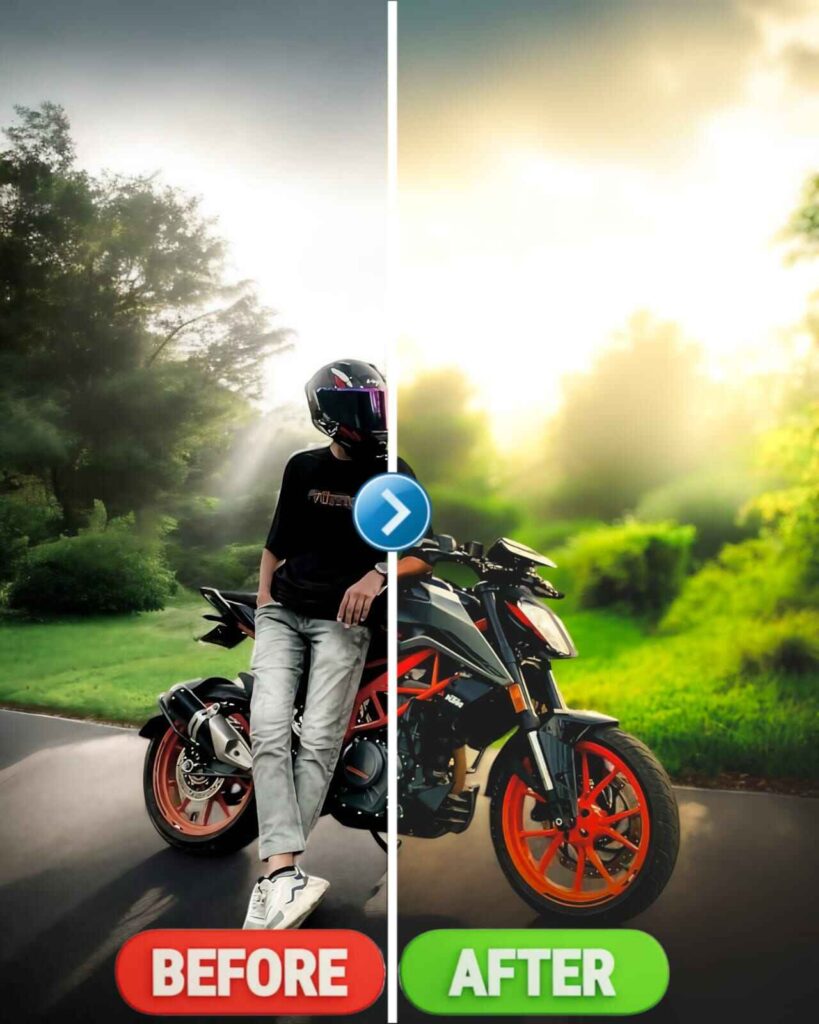
These kinds of photo edits go viral on Instagram and Facebook. This is because the colors are so nicely done. If you try to do this color mixing by yourself, it can take hours. But if you use a Lightroom preset, you can do it with just one click. You can look at the photo below to understand. Your photo can also look like this with just one click.
Step-by-Step Guide to Using Cinematic Presets in Lightroom
Now, friends, you need to know how to use this Lightroom Preset to make a perfect cinematic photo edit.
First, you have to install the Lightroom app from the Play Store or App Store. Even if you are doing editing, Computer the same process for you.
Next, open the app and add the photo that you want to edit. Then, add the Lightroom preset that we have given you. I will tell you below how to get that preset.
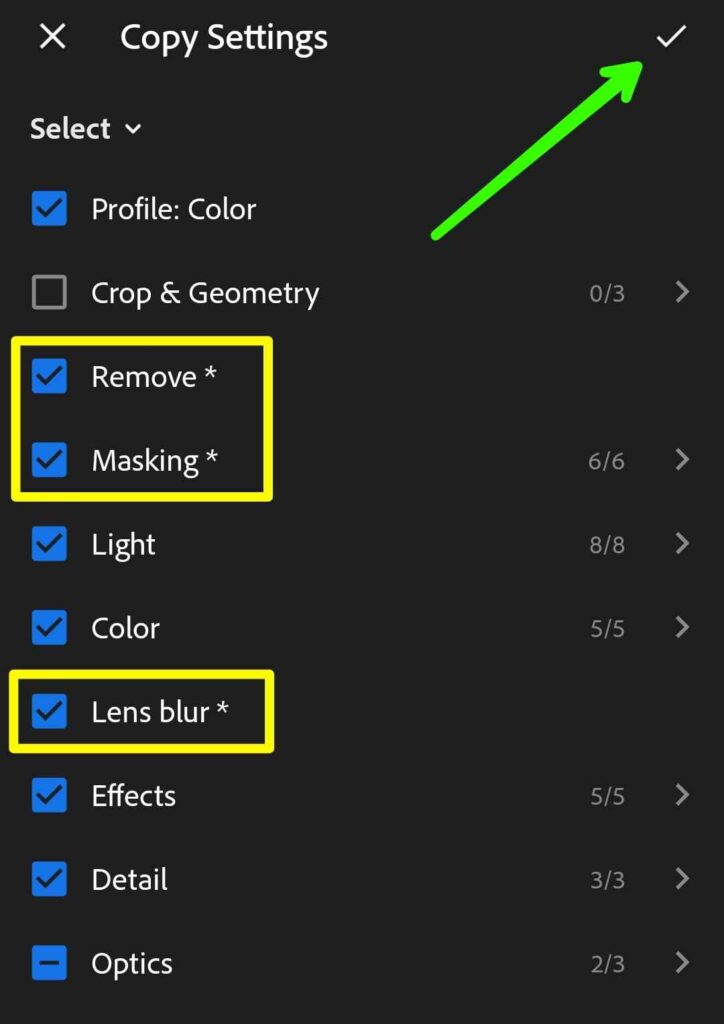
After that, click on the three-dot option at the top and copy the preset. And after copying the Lightroom preset, make sure to remove, mask, and apply lens blur from the options. Then tap on the tick (✓) at the top to save the changes. I have explained everything clearly in the image below, so you won’t face any problems.
Then open the photo you want to edit. You will also see the three-dot option there. Click on it and tap “Paste Settings.”
That’s it. By following this simple method, your photo will be edited in a nice cinematic tone. If you want to change anything in the color combination, you can do that too.
Easy Way to Access Lightroom Cinematic Presets
Friends, now let me tell you how you can save this Lightroom Preset on your phone.
It’s really very easy to save. Below, you will see a picture. Don’t click on the picture, but look just below it. There is a button. If you click on that button, you can easily save today’s Cinematic Preset Lightroom on your phone. After that, you can do photo editing with just 1 click.


Conclusion
Friends, I hope that you will use this cinematic Lightroom Preset to do cinematic photo editing. Believe me, if you use this Lightroom Preset, your photo will look very unique compared to your friends. And, if you face any problem using it, please tell me in the comments. Because we are here to help you with your problems.
Thank you, Ma Monosha. Please keep staying with me like this. Your support means a lot to me right now. Thank you.
FAQ
Q1. What is a Cinematic Lightroom Preset?
A cinematic Lightroom preset is a photo setting that makes your photo’s color and contrast look like a movie. It adds a dramatic and shiny look.
Q2. How is one-click cinematic photo editing possible?
Just install the Lightroom app on your phone. Open your photo, then copy and paste the preset we gave. Your photo will look cinematic in one click.
Q4. How to apply a cinematic tone in the Lightroom app?
First, copy the preset. Then, open the photo you want to edit. Tap the three-dot menu and choose “Paste Settings.”
Related Posts