Many times, when we take photos, they do not look good at all. This makes us feel very sad because we always want our photos to look beautiful. To solve this problem, we use Lightroom Presets, which help us edit photos very quickly with just one click.
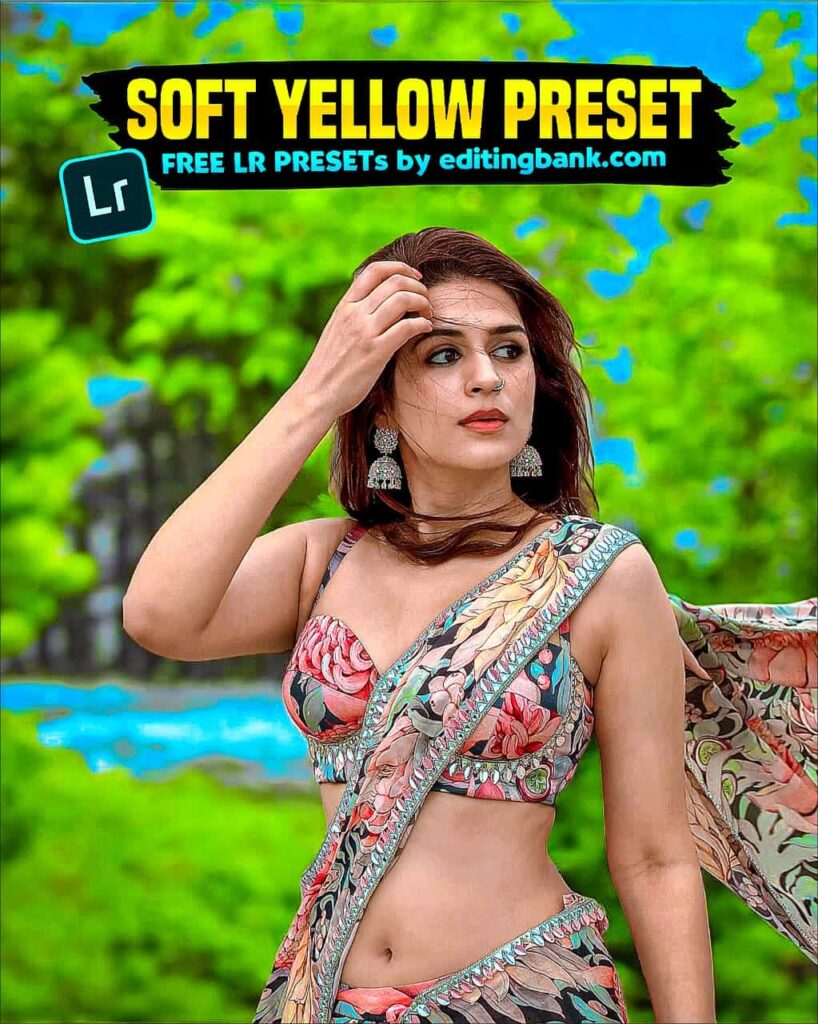
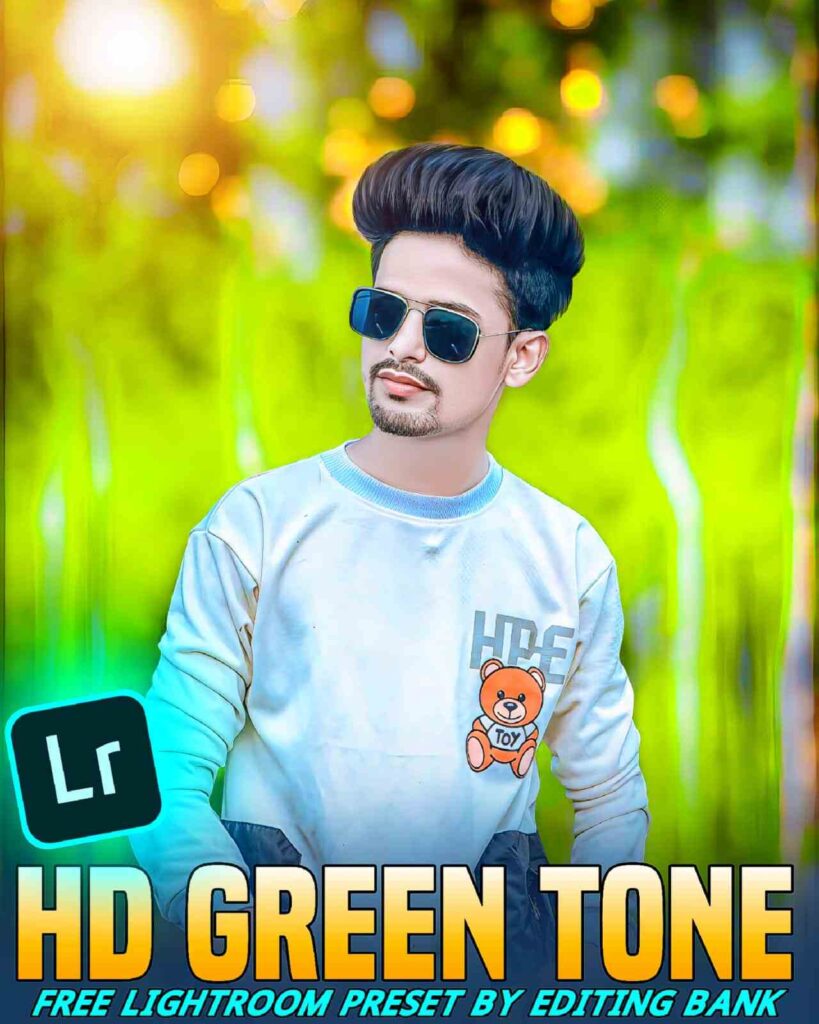
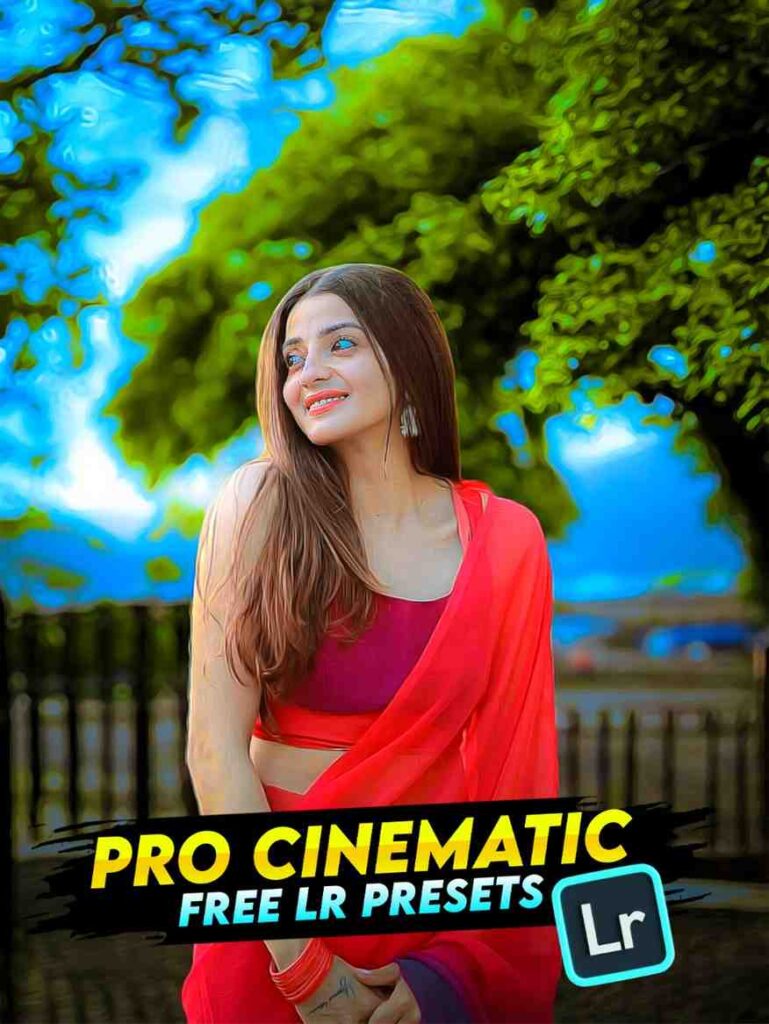
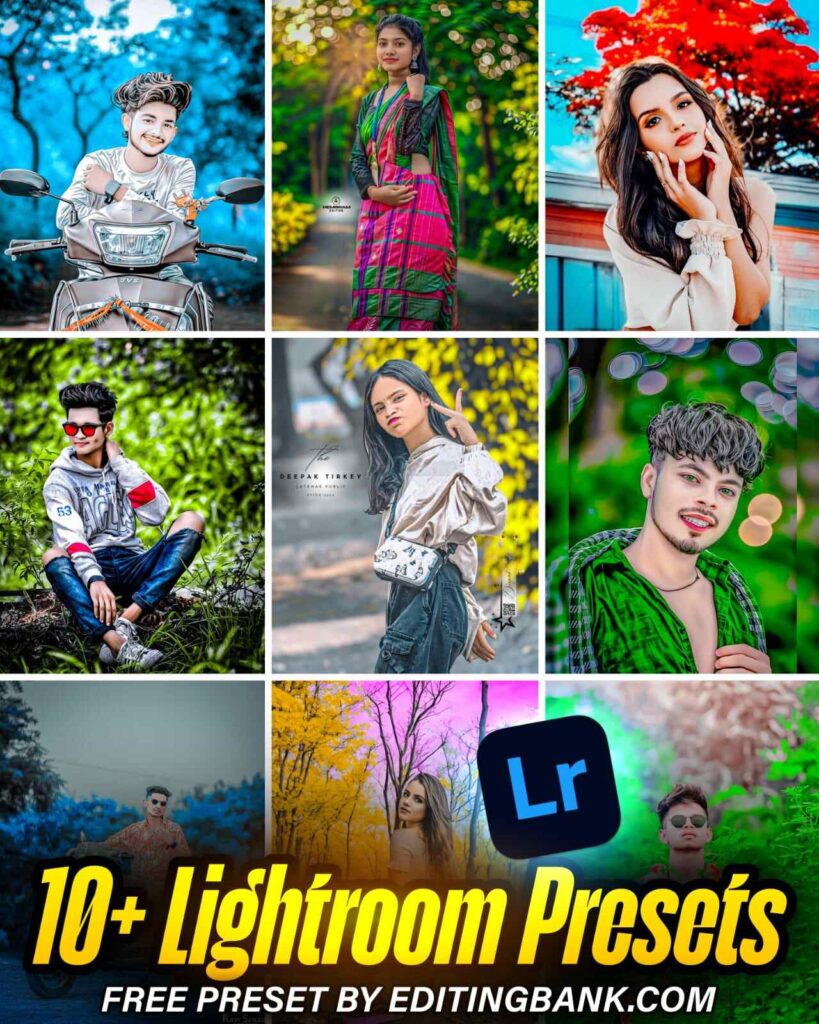
Top 10 Lightroom Presets are ten special Lightroom presets that allow you to edit your photos in different styles and colors. Using these, photo editing becomes very easy, and we can add effects as we like. For example, the Soft Grey Tone Preset gives a soft grey color, the Green Tone Preset adds a green color, and the Dark Tone Preset makes the photo look dark. These presets are free, making photo editing even easier.
We always check your comments, and recently, many of you have requested multiple Lightroom presets together. So, today we are bringing the Top 10 Lightroom Presets for you. You already know that with these presets, you can edit your photos beautifully and professionally in just one click.
Top 10 Lightroom Presets
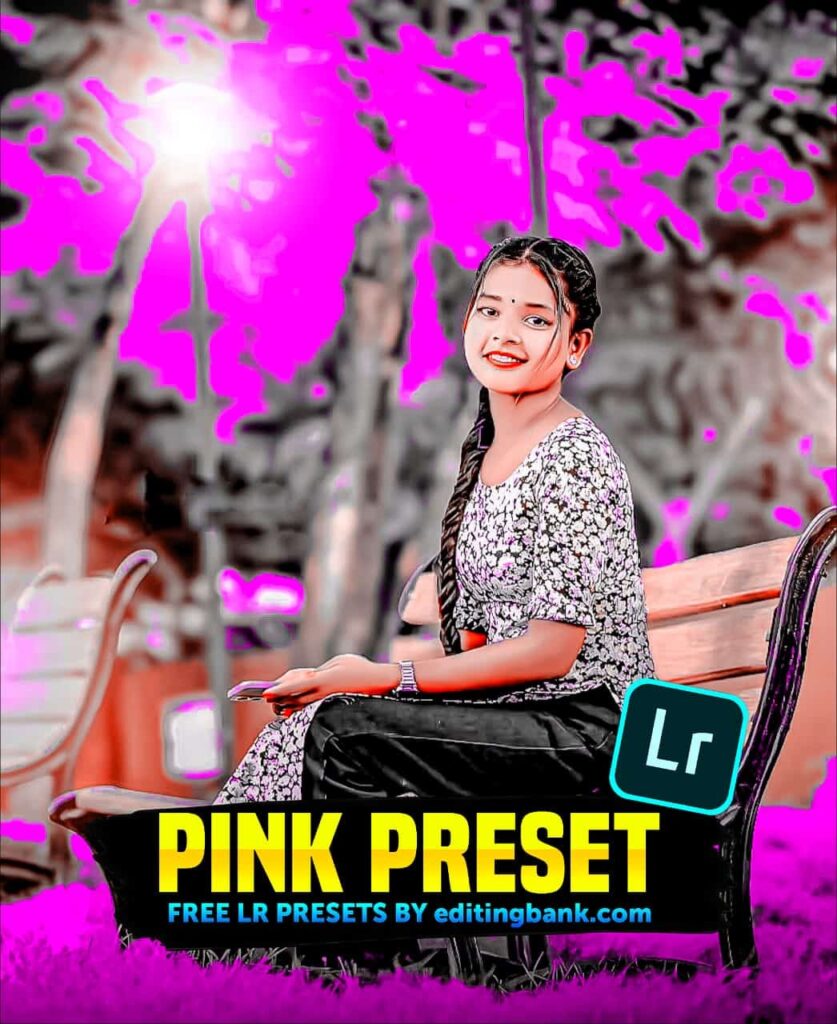
Friends, the top 10 Lightroom presets I am giving you today have colors that you will not find anywhere on the internet. The colors of these presets are truly unique. Here, you will find different color tones like green, yellow, pink, blue, dark, and many more new designs. If you edit your photos using these presets, your photos will look much more beautiful than normal photos.
4K Ultra HD Lightroom Presets


Purple And Yellow Lightroom Presets

Nagpuri Photo Editing Lightroom Presets

Dark and Moody Lightroom Presets

Moody Green Lightroom Presets

Soft Orange Lightroom Presets

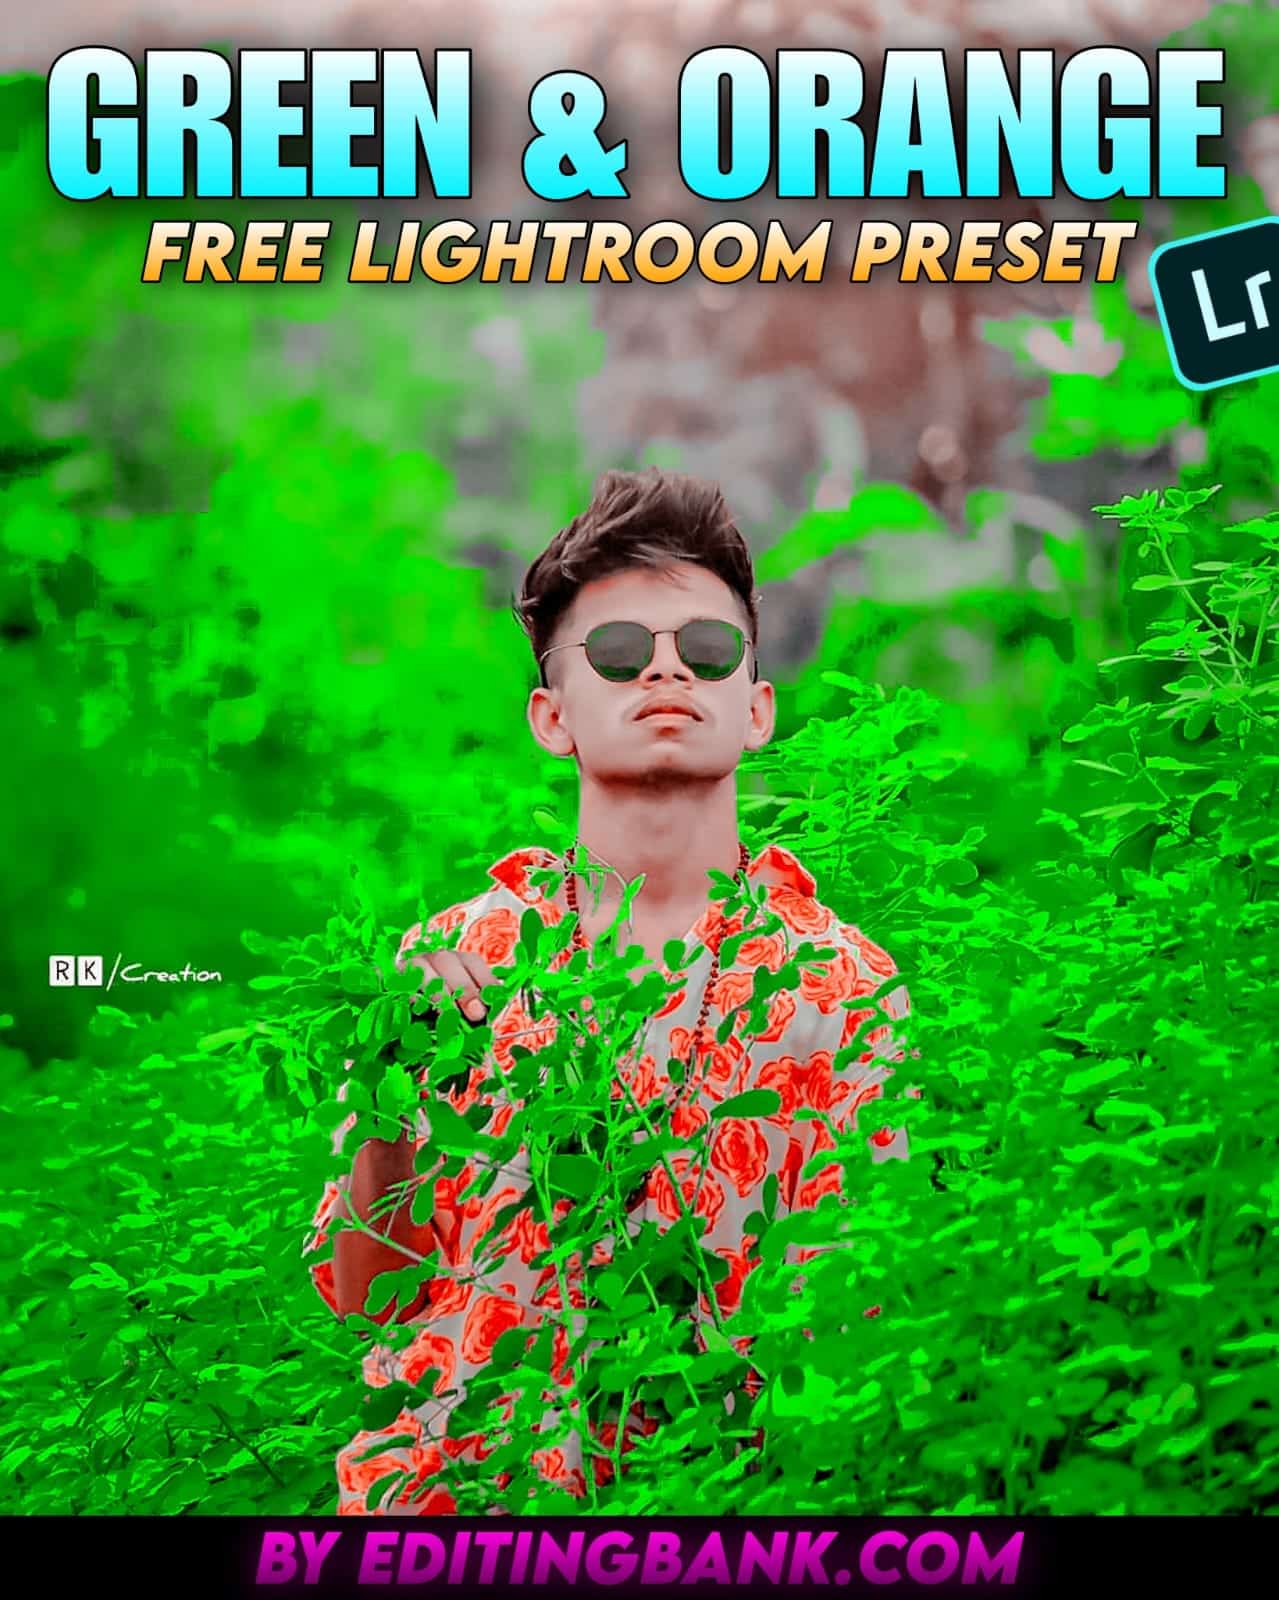
Green and Orange Lightroom Presets
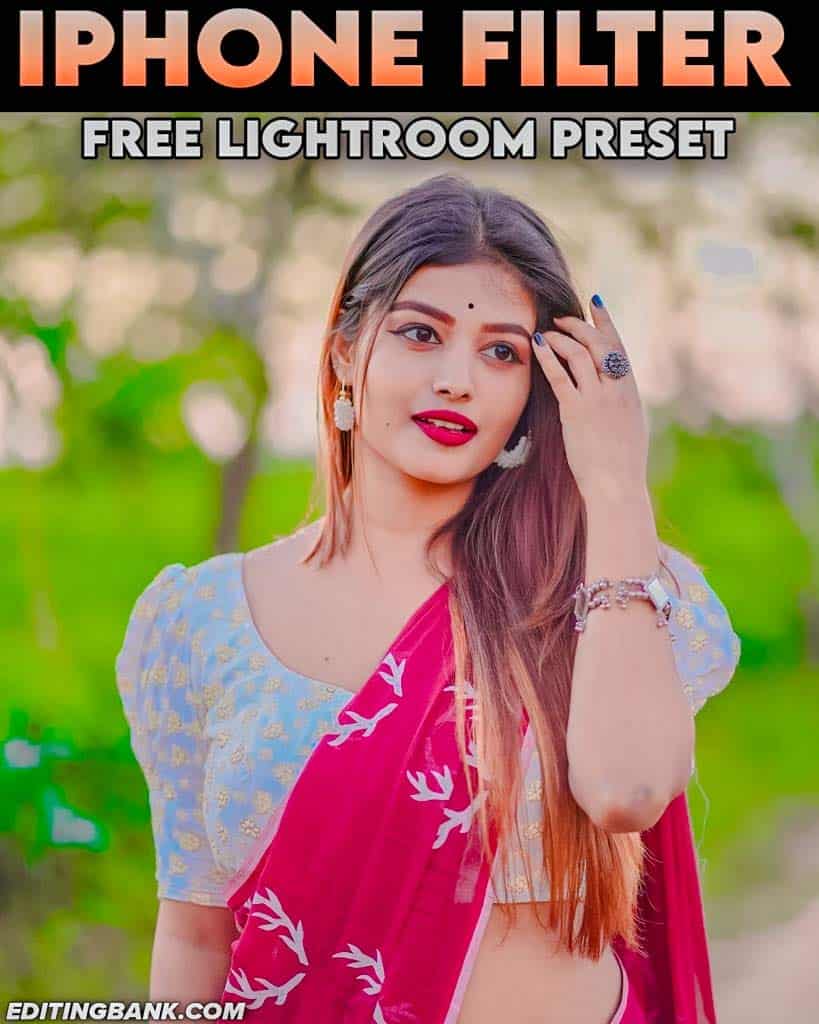
Iphone Filter Presets Lightroom
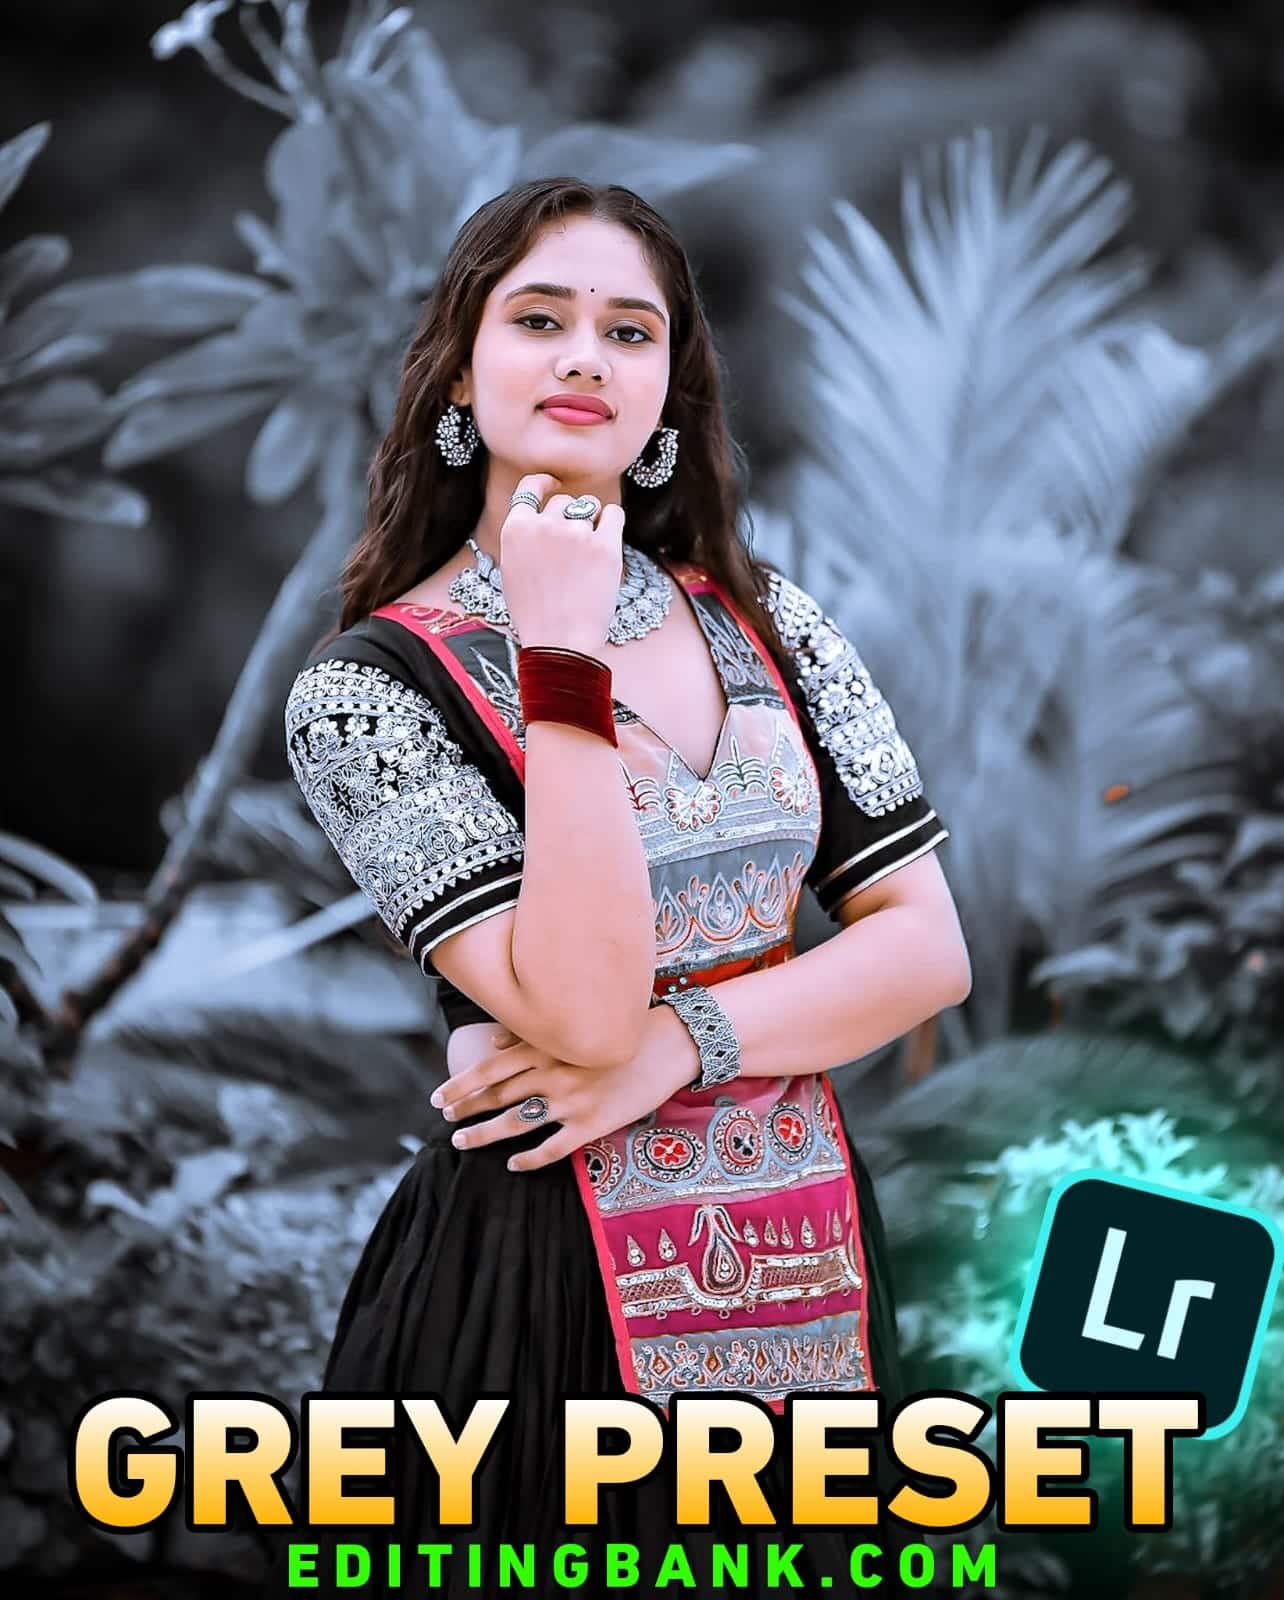
Grey Background Lightroom Presets
Deep Blue Lightroom Presets

Green Lightroom Presets Background

Below, I have given you the presets. You can check the demo and save the one you like on your mobile.
How to Use These Presets in Lightroom
The Lightroom presets I have given you above are in DNG format. This means you just need to copy and paste them. Let me show you how to use these presets for photo editing.
- First, find the preset you like and click the down button below it to save it.
- Open the Lightroom app on your mobile. You can easily installed it from the Play Store or App Store.
- Open the app and go to the gallery option. Select the photo you want to edit and add the Lightroom preset we provided.
- Open the Lightroom preset, and at the top, you will see a three-dot option. Click on it and select Copy Settings.
- Now, select your photo. Again, click on the three-dot option, but this time choose Paste Settings instead of Copy Settings.
- By following these steps, you can edit your photos with just one click. It’s very simple, right?
You can also watch the beautiful video below to clear all your doubts. We made this video just for you. If you have any problems, comment below, and we will help you.
How to Get Lightroom Presets
I have shown you many things—how to use these presets, why to use them, and answered many questions. But I haven’t told you how to get these presets yet. Without them, you won’t be able to use them, right?
Don’t worry! You don’t need to do anything special to get these presets. Just follow a simple method, and you will get them for free. You don’t need to spend any money.
- Below each Lightroom preset, you will see a button.
- Click on it, and the Lightroom preset will be saved on your mobile.
Conclusion
Friends, I hope you will use today’s Lightroom presets for photo editing and that you will love them. Not just these ten presets, but on our website, you will find many more presets that you can use to edit your photos beautifully. If you face any problems while using them, please comment below, and we will help you. Thank you. Joy Maa Monosha.
FAQ
Q1. What are the best Lightroom presets?
Some of the best Lightroom presets are Soft Grey Tone Preset, Green Tone Preset, and Dark Tone Preset. These presets help to make photos look better.
Q2. Where are Lightroom presets stored?
On mobile, Lightroom presets are saved inside the Lightroom app. On a computer, they are stored in the Develop Presets folder.
Q3. How does buying Lightroom presets work?
Lightroom presets come in digital files like DNG and XMP. After payment, you can download the preset file and import it into Lightroom.
Q4. What file types are Lightroom presets?
Lightroom presets are usually in DNG and XMP formats. DNG is mostly used on mobile, and XMP is used on a computer.
Q5. Where can I use Lightroom presets?
You can use Lightroom presets on mobile, computer, and tablet. They work on all these devices.
Q6. What is the difference between Lightroom and Lightroom Classic?
Lightroom Classic is a pro editing software with more tools. Lightroom (CC) is cloud-based and works on mobile, tablet, and computer.